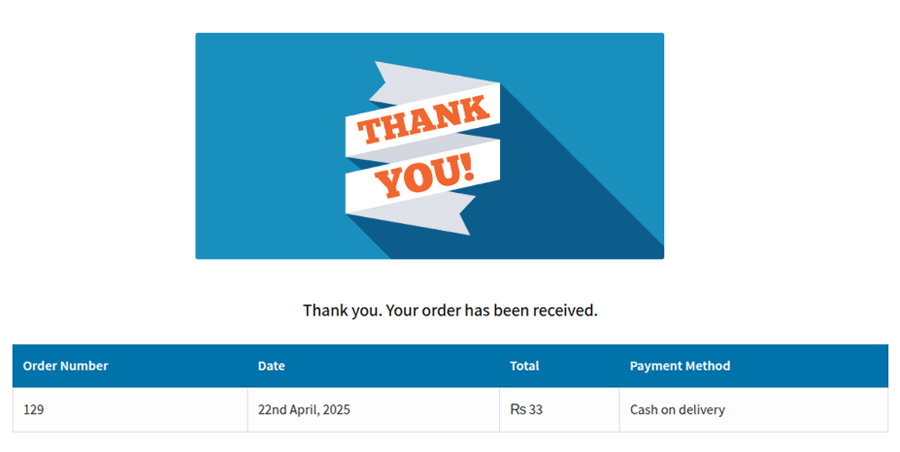
The WooCommerce Thank You Page is the final destination in your customer’s journey — and often one of the most overlooked opportunities for engagement and conversion. The default WooCommerce thank you page is functional, but it lacks the customization options many store owners need to leave a lasting impression or drive follow-up actions.
If you’re looking to create a more personalized, professional post-purchase experience and also want to use a short URL for cleaner redirection, this guide is for you. In this article, we’ll walk you through how to replace the default thank you page with a custom one and redirect users using a short URL — all without writing any code.
Why You Should Customize the WooCommerce Thank You Page
Think of the thank you page as your store’s goodbye handshake — it’s the last touchpoint in the buyer’s journey and a prime spot to build trust, show appreciation, and even generate more sales. Unfortunately, WooCommerce’s default page doesn’t let you do much beyond saying “Thanks.”
When you customize the thank you page, you unlock the ability to:
- Add branded messages and visuals
- Share helpful next steps, like tracking links or support info
- Recommend related products
- Offer exclusive coupons or content
- Collect feedback or encourage social shares
It’s about turning a plain page into a purposeful experience — one that makes your customers feel seen and valued.
The Plugin That Makes It All Happen
To customize your thank you page in WooCommerce without dealing with technical headaches, you’ll want to use the Customized Thank You Pages for WooCommerce plugin.
This plugin makes it easy to:
- Create and assign different thank you pages
- Redirect customers based on what they bought or how they paid
- Replace WooCommerce’s default page with a custom one or a short URL
- Use shortcodes to dynamically show order and customer info
- Set up global redirects or specific rules for different products
It’s a powerful yet user-friendly solution that puts you in full control of what happens post-purchase.
Step 1: Set Up the Plugin
First you will have to install and then activate the Customized Thank You Pages for WooCommerce plugin straight from your WordPress dashboard.
Once it has been activated, you have to head to WooCommerce > Settings > Customized Thank you Pages. You will find three main sections there:
- General Settings: For setting up global redirects and page design
- Payment Methods: To assign redirects based on how someone paid
- Shortcodes: To add dynamic customer/order data to your custom pages
Step 2: Create a Custom Thank You Page
In this step, we will see how to build a personalized thank you page.
You will have to go to your WordPress dashboard and then to Page > Add New, and then you can create a page of your own.
On that page, you can choose to write a warm thank you message to let customers know what to expect next. You can also include other cool stuff like discount codes or recommended products. The key is to make it as humane and helpful as possible, all the while being aligned to your brand’s identity.
To personalize it even more, you can later insert shortcodes for things like:
- Order details
- Customer information
- A custom header message
But more on that shortly.
Once you’re happy with the content, publish your page.
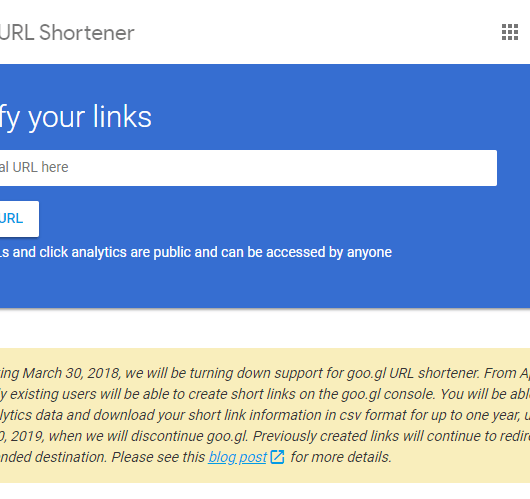
Step 3: Generate a Short URL with T2M URL Shortener
At this point, you’ve got a great-looking thank you page — but you want to use a short URL to make things cleaner, especially if you plan to track visits or share links in emails or ads.
That’s where T2M URL Shortener comes in. It’s an all-in-one link management platform that offers an easy-to-use interface, competitive pricing, and outstanding customer support. You can shorten your thank you page link in seconds, and it’s perfect for keeping URLs tidy and trackable.
To shorten your custom page URL:
- Go to your T2M dashboard and log in.
- Paste your thank you page URL into the field provided.
- Click to generate the short link.
- Copy the new, shortened URL.
Now you’re ready to use that link in your redirection settings.
Step 4: Set Up a Global Redirect with Your Short URL
If you want every customer — no matter what they buy — to be redirected to the same thank you page, you can do this quickly using the plugin’s global settings.
Here’s how:
- Go to WooCommerce > Settings > Customized Thank You Pages > General Settings.
- Enable the option to use a custom thank you page.
- Choose “External URL” from the dropdown menu.
- Paste in the short URL you created earlier.
- Save your changes.
From now on, every customer who completes an order will be taken to your custom page using the short URL. It’s clean, efficient, and much more professional than the standard WooCommerce page.
Step 5: Set Conditional Thank You Pages (Optional)
Want to take things further? Maybe you want customers who buy a specific product — or shop from a certain category — to land on a different page than everyone else.
With the plugin, you can create multiple thank you pages and assign them using rules.
Go to WooCommerce > Thank You Page Rule and click to add a new rule. Here’s what you can do:
- Give the rule a name (for your reference)
- Enable or disable it as needed
- Set a priority if multiple rules overlap
- Choose specific products or categories to apply the rule to
- Set the redirect destination — this can be a page, a product, a category, or even a short URL
This is perfect for running seasonal campaigns, upsell offers, or different messages for different types of customers.
Step 6: Redirect Based on Payment Method
Another way to customize the thank you experience is by payment method. For instance, customers using PayPal might benefit from one message, while those selecting Cash on Delivery need different instructions.
To configure this:
- Go to WooCommerce > Settings > Customized Thank You Pages > Payment Methods.
- For each listed method (Bank Transfer, Check Payment, Cash on Delivery, PayPal), enter a redirect URL.
- You can use different short URLs here too, each leading to a page tailored to that payment method.
This adds a whole new level of personalization to your checkout process — and can help reduce confusion or support requests, especially with offline payment methods.
Step 7: Enhance the Page with Dynamic Shortcodes
Once your thank you page is live and redirections are set up, you can make the page even more powerful using shortcodes.
Go to WooCommerce > Settings > Customized Thank You Pages > Shortcodes. You’ll see a few copy-and-paste options for:
- Header Section
- Order Table
- Customer Details
Add these shortcodes to your custom page, and they’ll automatically pull in relevant data — no coding required. This turns a static message into a dynamic, personalized page tailored to each order.
Tips to Get the Most Out of Your Custom Thank You Page
1. Keep It Personal
Write the thank you message like you would speak to a customer in person. Use their name if possible (the shortcode can help), and make them feel genuinely appreciated.
2. Give Clear Next Steps
Let them know what happens now — whether it’s an order confirmation email, shipping schedule, or how to contact support if needed.
3. Add Value
This is a great place to include a coupon for their next order, invite them to follow your social channels, or highlight a referral program.
4. Make It Trackable
Since you’re using a short URL, you can track how many people land on your thank you page and what actions they take next. Add UTM parameters for deeper insights if you’re using analytics tools.
Final Thoughts
The WooCommerce thank you page doesn’t have to be a one-size-fits-all dead end. With the right approach, it can become a strategic part of your store that reinforces your brand, drives repeat purchases, and makes your customers feel genuinely appreciated.
Thanks to the Customized Thank You Pages for WooCommerce plugin, setting this up is straightforward — no coding, no complexity. And when you pair your custom page with a clean, trackable link from a platform like T2M URL Shortener, you get a polished experience that’s easy to manage and delightful for customers.
In just a few steps, you’ve taken a basic order confirmation page and turned it into a meaningful part of your customer experience. And that’s what great eCommerce is all about.